How to export USGS LIDAR as a DEM
How to export USGS LiDAR as a DEM
The easiest way to turn USGS LiDAR into a DEM is to use Equator . Follow the short steps below to learn how you can turn LiDAR into a DEM.

Step 1: Locate available USGS LiDAR
First, visit Equator at maps.equatorstudios.com . Then, open the Data menu on the left sidebar. Once the Data menu is open, click the + (shown below in red) to add Equator’s Global LiDAR Availability layer to the map.

This will allow you to see where USGS layers are available (throughout the USA).

Step 2: Create a Site to Export Data From
In order to export the USGS LiDAR we will first need to declare a site (area) that we want to export the data from. To do this, use the Search menu or use the middle mouse wheel to zoom into a location where you want to export data. Once you’ve reached your location, click the New Site button in the bottom left (shown below in red).

You can now make minor adjustments to your camera to ensure your entire site is within the site selection box. Once you’re happy with the site location, click the ‘Okay’ button below the site selection box (shown below in red).

Step 3: Export a DEM from USGS LiDAR
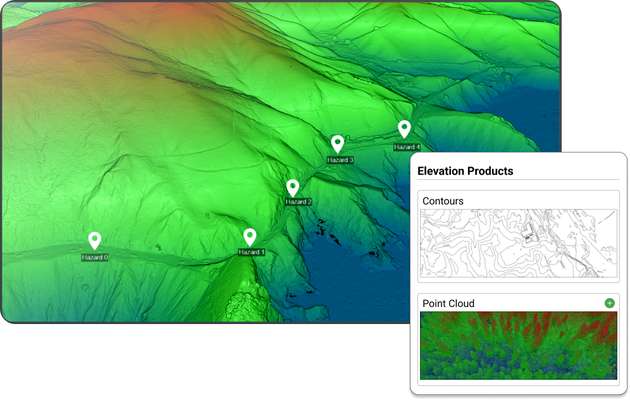
Next, in the Data menu on the left sidebar, scroll through the products and look for Digital Elevation Model (shown below in red). Click the Digital Elevation Model card, then click Generate.

Step 4: Download DEM File
Open the Layers menu on the left sidebar. Locate your newly processed DEM file and click the download button (shown below in red).

Congratulations! You have exported USGS LiDAR as a DEM file using Equator !
The post How to export USGS LIDAR as a DEM appeared first on Equator .
Full content in Equator Studios