How to Make a LiDAR Map
How to Make a LiDAR Map

How to Make a LiDAR Map using Equator
- Visit Equator Studios
- Search for a location that you would like to create a LiDAR map using the search bar or scroll into your location
- Select the +NEW SITE button at the bottom of your screen. Create your site using one of Equator’s premade boundary boxes or generate your own boundaries. Don’t forget to give your site a name!
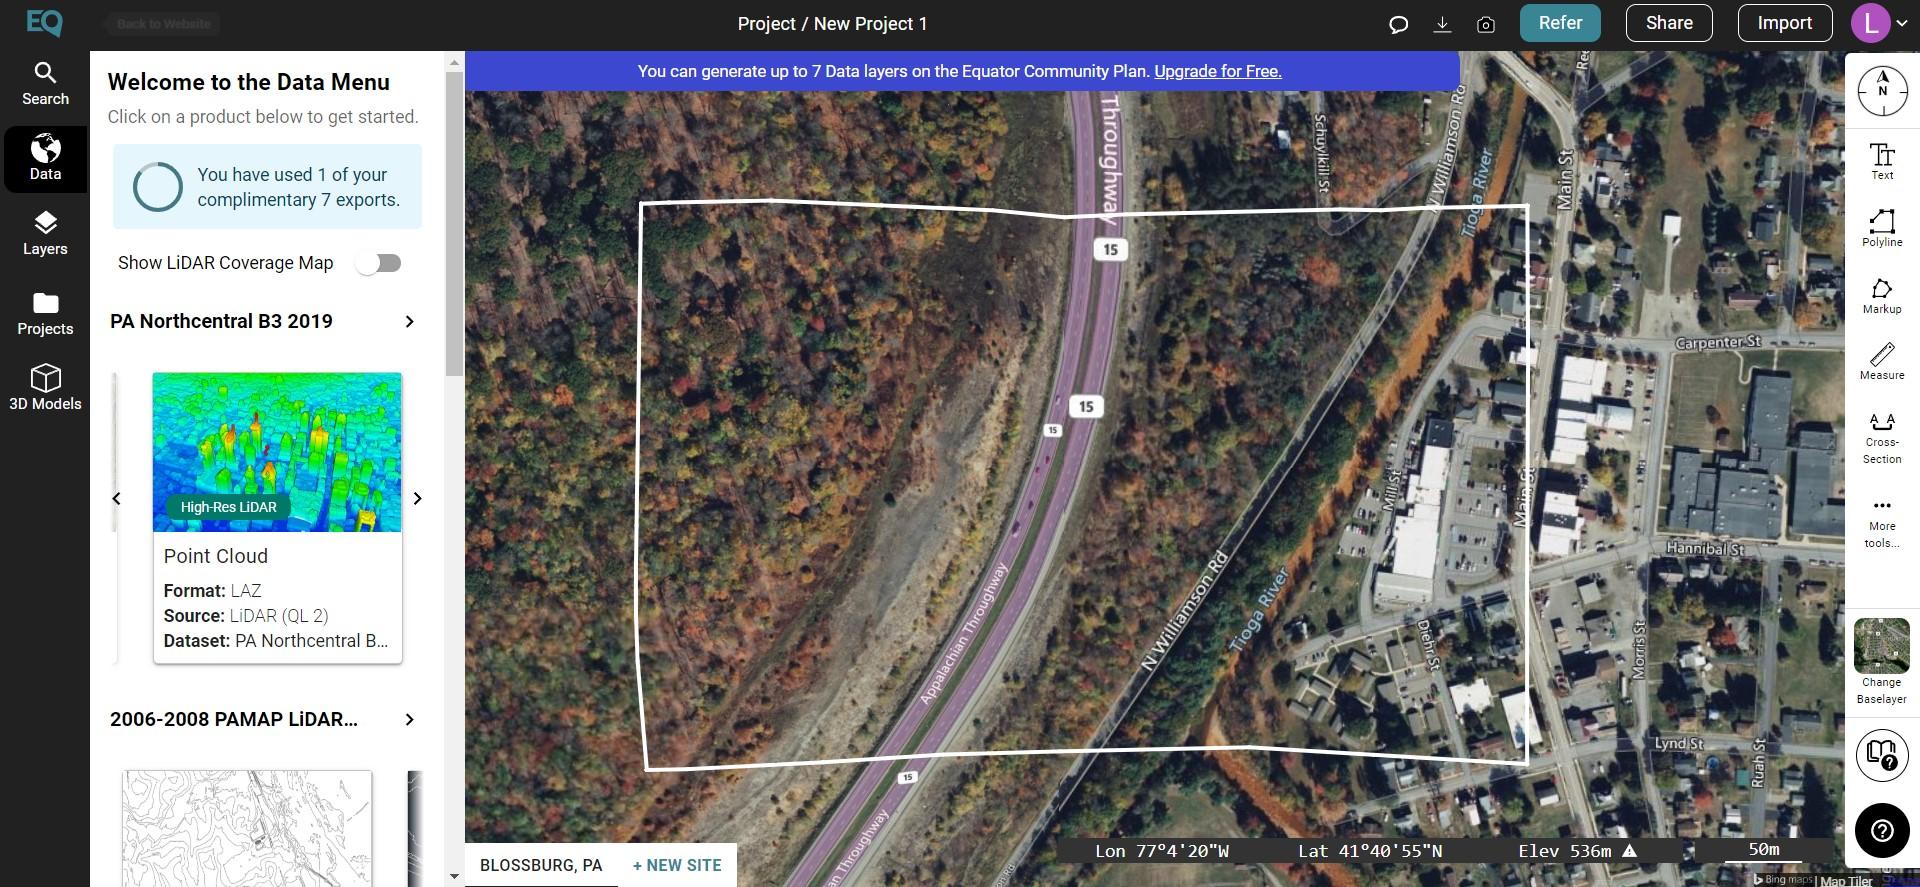
- In the left-hand sidebar, select a product you would like to build your LiDAR map from
- Click ‘Generate’ and our supercomputers will begin to process the LiDAR
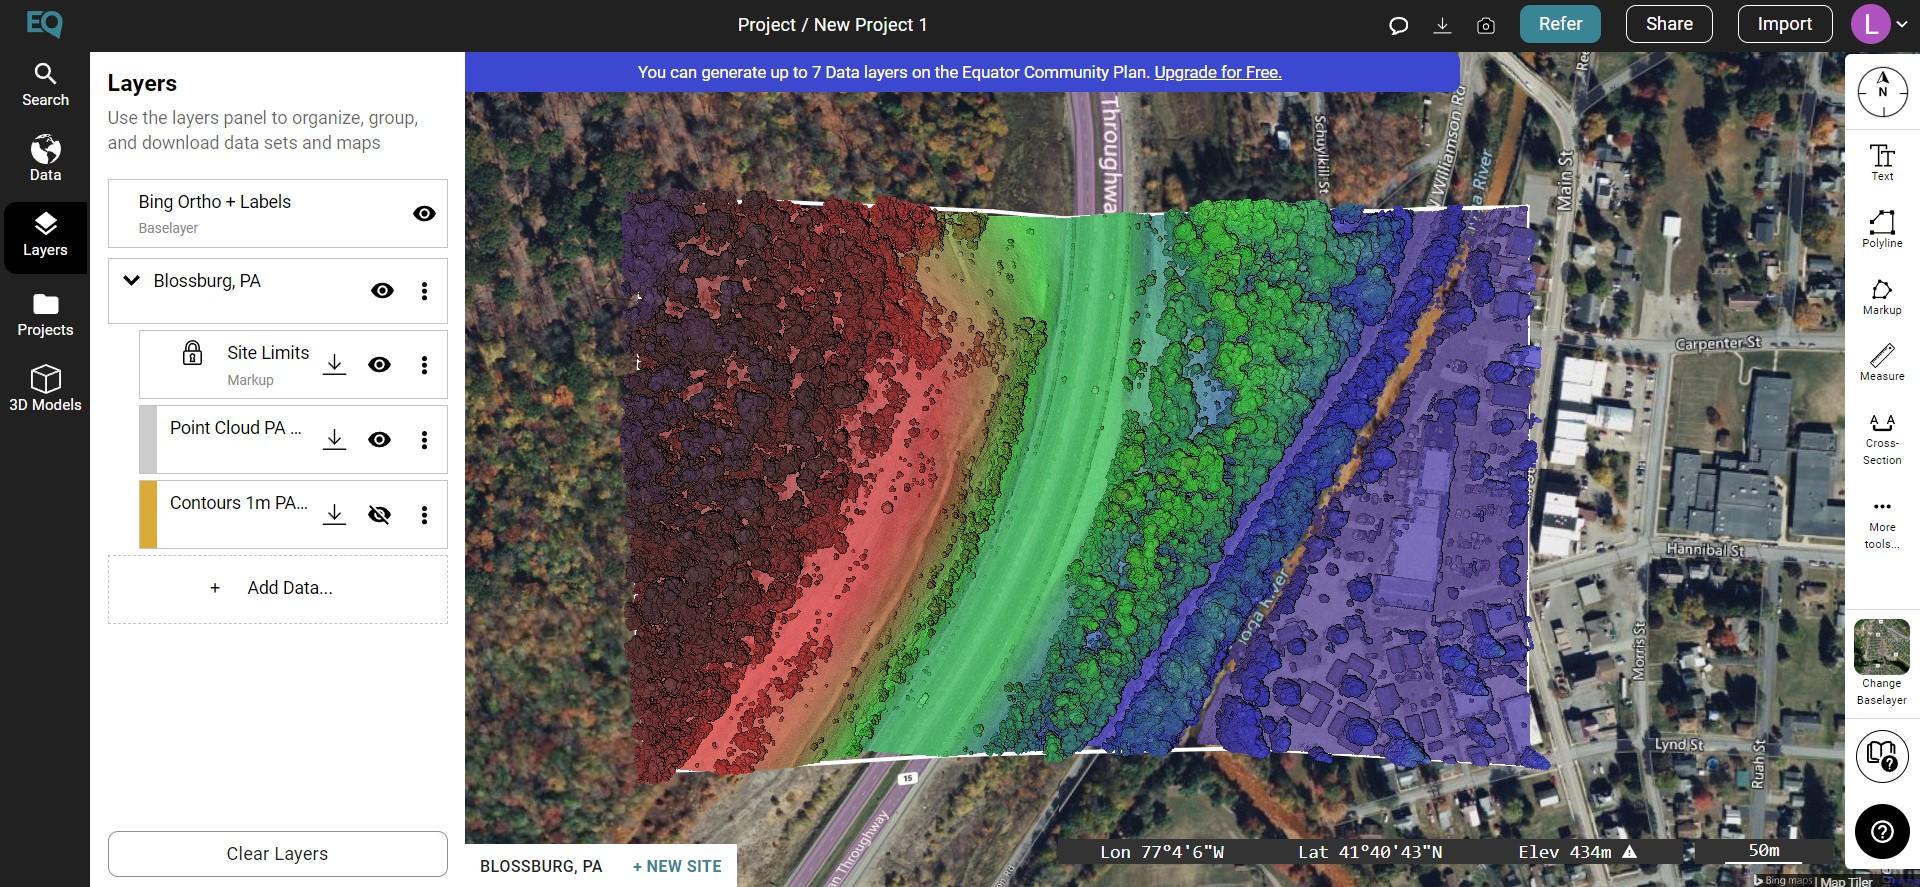
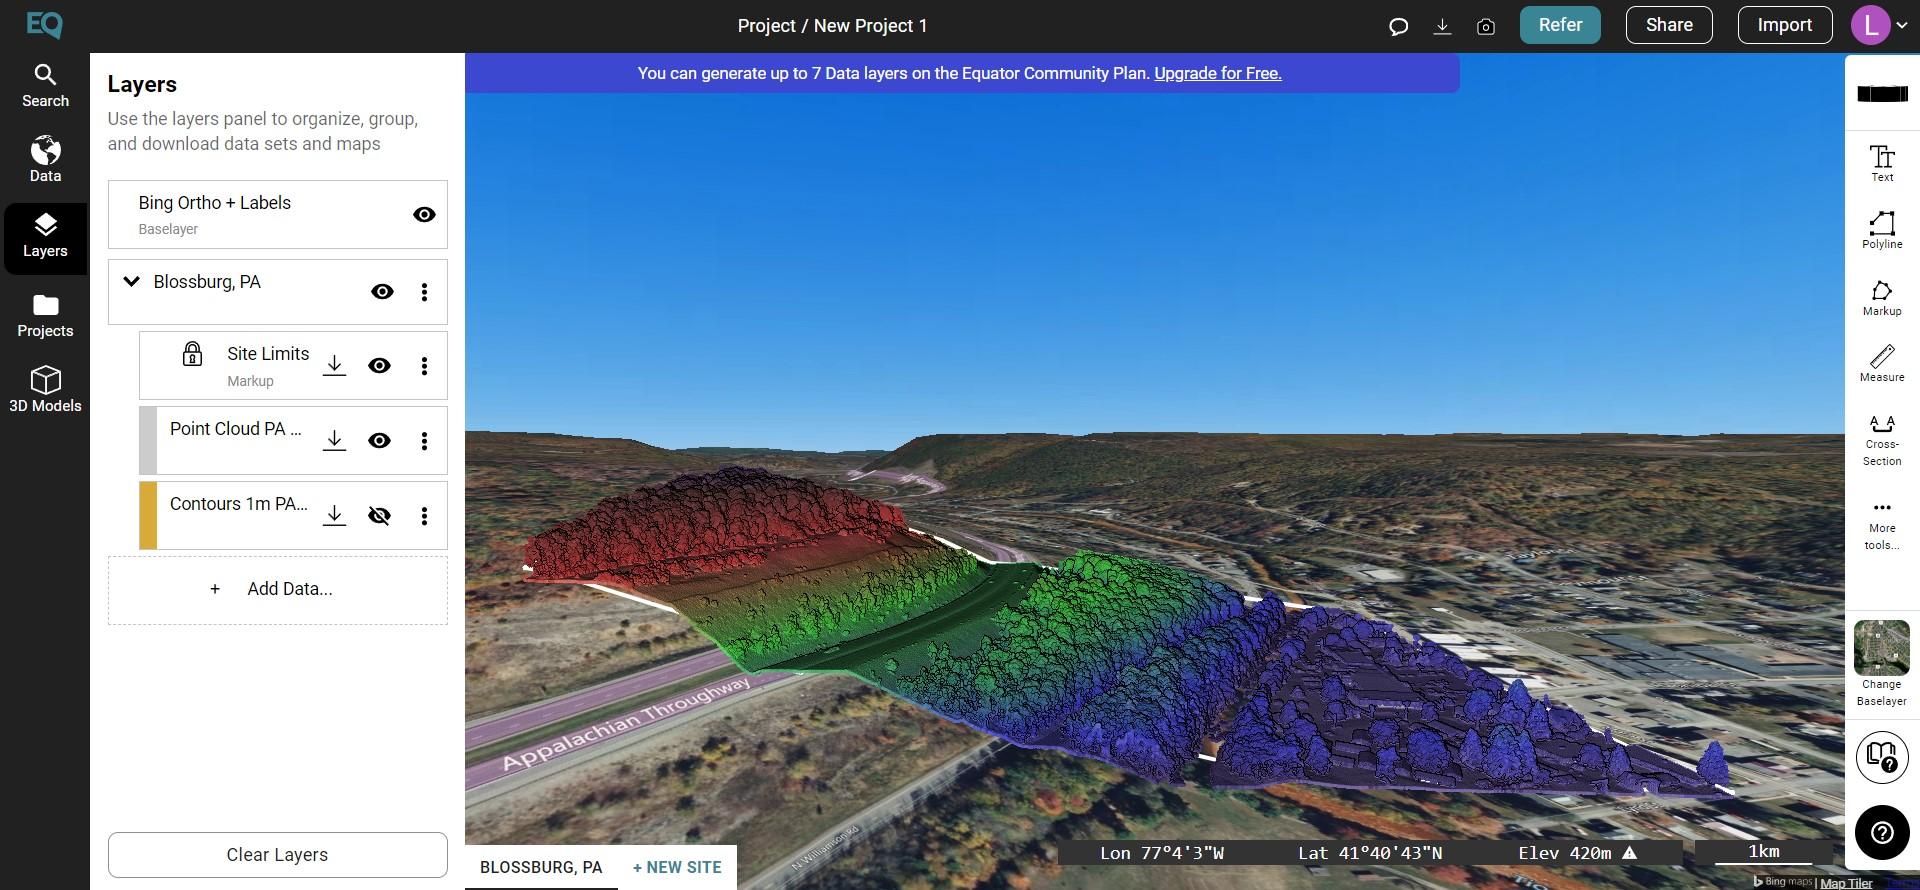
- Your LiDAR data will appear within your site boundaries
Step 1: Visit
Equator Studios
Once you arrive at Equator Studios you need to log in or create a new account.

Step 2: Search for a location that you would like to create a LiDAR map
Select the Search button on the left side-menu and type in a location that you would like to navigate to for creating the topographic map. Alternatively, you can just zoom into your location.

Step 3: Create a New Site
Select the +NEW SITE button on the bottom left of your screen. Use Equator’s premade boundaries or create your own site boundary using the site selection menu that appears. Don’t forget to name your site, then select Create Site.

Step 4:
Go to the Data tab and select a product you would like to build your LiDAR map from
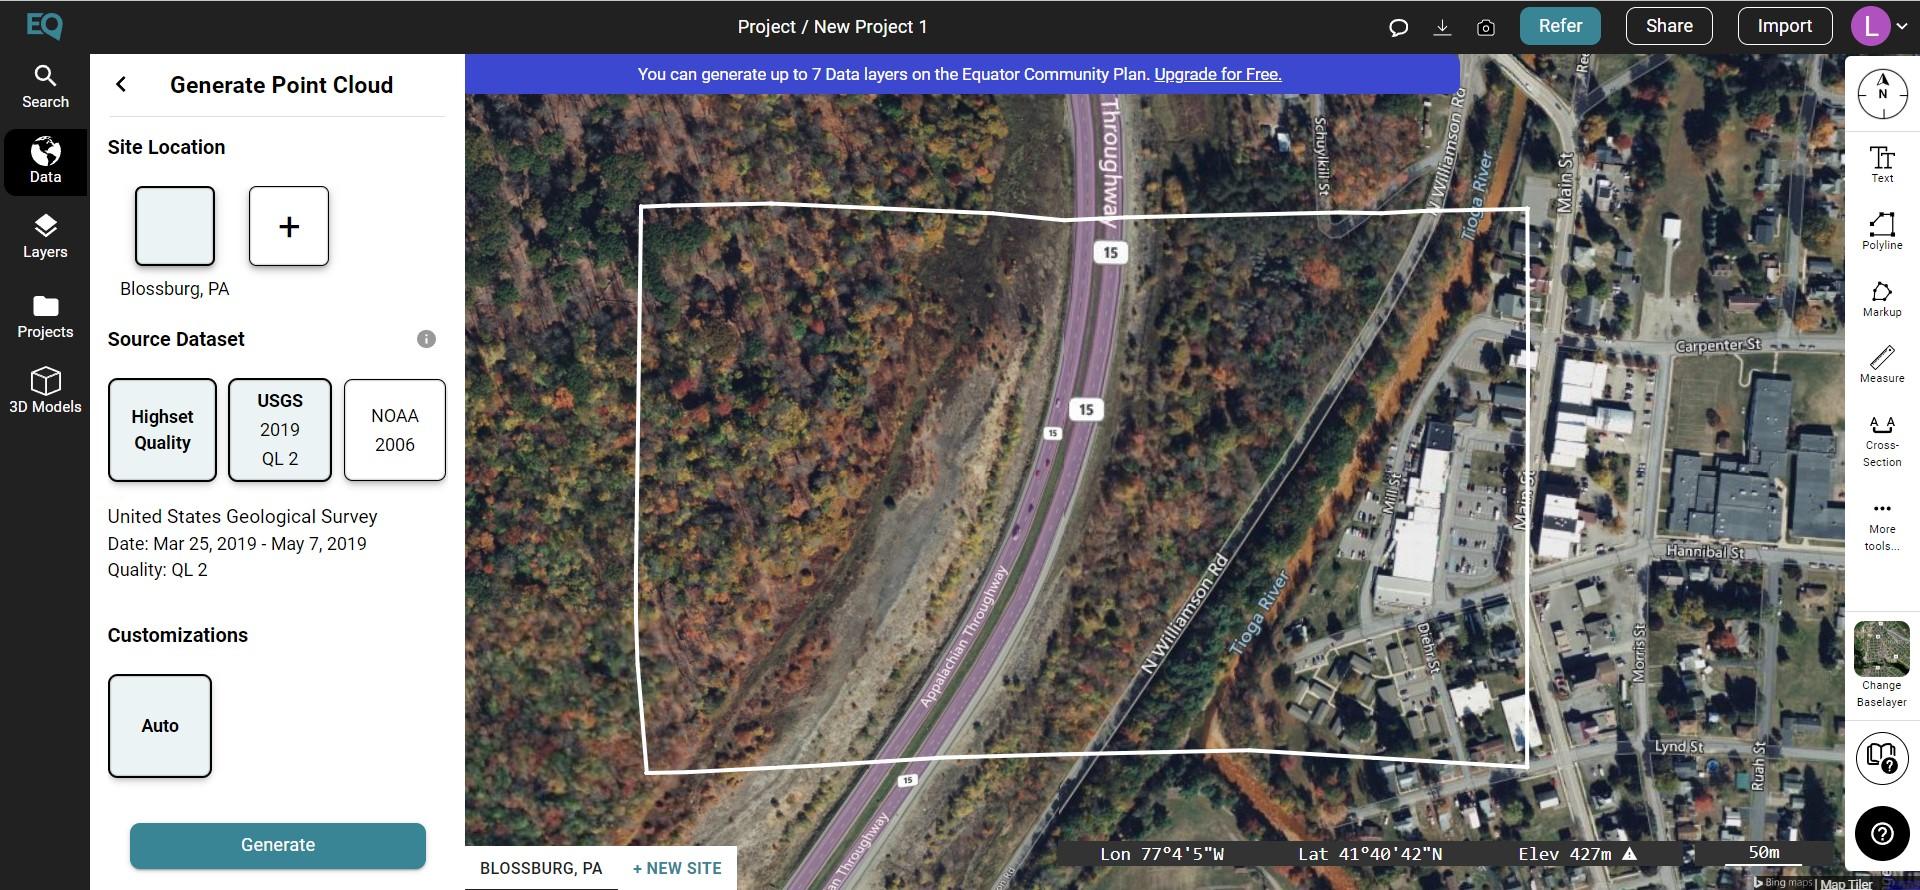
The Data tab is located on the left-side menu. Select point cloud and customize your LiDAR data in the pop-up menu to meet your needs.

Step 5: Click ‘Generate’ and our supercomputers will begin to process the topography
Once you have customized all the information needed for the map (example: the resolution ), select Generate.

Step 6: Your LiDAR data will appear within your site boundaries
Once the LiDAR is viewable it will load into your map automatically! This may take a minute or two depending on how big your site is, but we promise it will show up.
The post How to Make a LiDAR Map appeared first on Equator .
Full content in Equator Studios


